
A hollow shaft is a power-transmitting shaft with a bore through its centre: a large-diameter, thin-walled tube machined at both ends, sometimes carrying flanges, splines or gear features. Designers choose hollow sections for the stiffness-per-kilogram advantage, and the same geometry that makes them efficient makes them the most delicate workpieces in a straightening shop. A wall a few millimetres thick on a shaft two hundred millimetres across will not forgive tooling, load paths or measurement setups designed for solid bar.
This page is about hollow transmission shafts as machined components: tubes cut, welded, machined, heat-treated and ground into functional parts. That deliberately separates it from raw tubing production, which belongs to tube and pipe equipment such as the tube straightening machine family; a finished hollow shaft with machined ends, a weld seam and tight runout specifications is a different engineering problem from straightening pipe stock. Five questions open the solution:
- What are the wall thickness, diameter and length-to-diameter ratio, and where does local stability end?
- Is the deviation pure centreline bend, ovality, or the coupled combination hollow sections produce?
- Which measurement setup separates ovality from bend instead of blending them?
- Which correction route is approved: external point pressing with protected tooling, combined bend-and-round sequencing, or internal pressure methods?
- How is acceptance proven: runout map, ovality at stations, wall deformation evidence, weld-zone integrity?
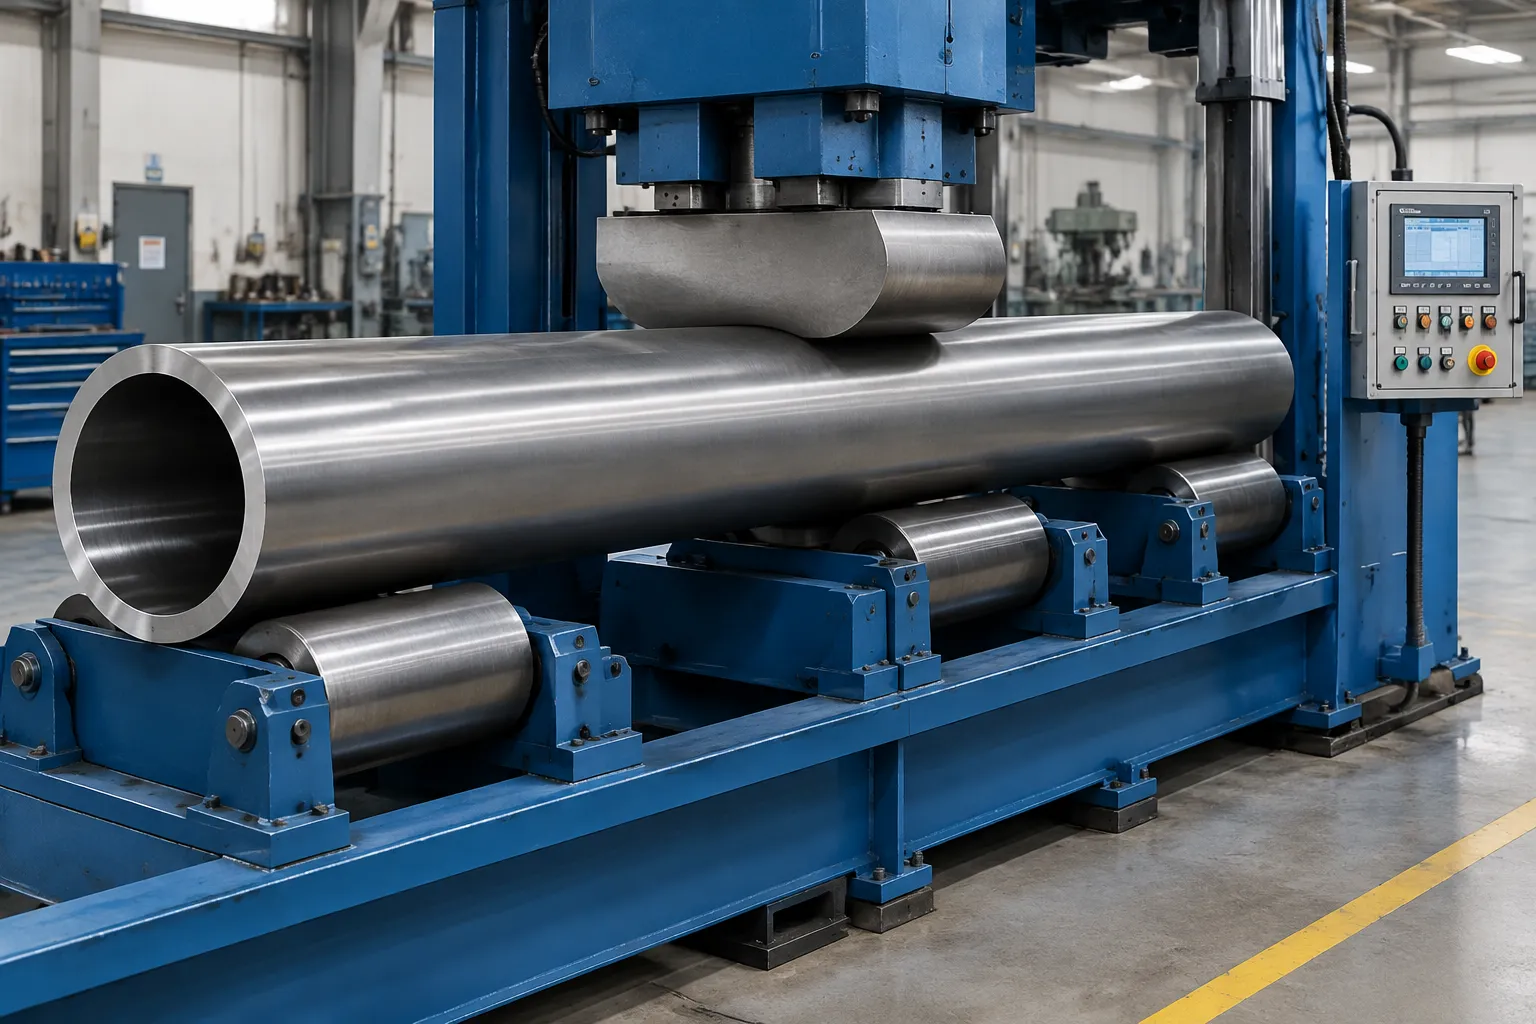
Engineering concept illustration: a large hollow shaft supported for a controlled correction study. Not a customer-site photograph; support spacing, force limits and route selection require drawings and sample tests.
Why Hollow Shafts Break the Default Straightening Rules
Every rule that works on a solid shaft needs re-examination once the centre is empty:
- The section can dent. A point load a solid shaft shrugs off leaves a permanent local flat on a thin wall. The anvil, the ram and every support must spread load; surface-protection tooling discipline is not optional here.
- Bend and ovality are coupled. Bending a tube ovalizes the section at the bend; ovalizing a tube, in a chuck or on a hard V, shifts the measured axis. The two errors trade into each other under correction.
- Springback behaves differently. A thin-walled section stores and releases strain unlike a solid one, and local yielding at the wall can arrive before full-section plastic bending. Springback compensation rules must be revalidated on samples, not imported from solid-shaft recipes.
- The weld seam is a discontinuity. A longitudinal or girth weld carries its own residual stress, hardness and distortion signature; loading across it follows different rules than loading parent tube.
Where Hollow Shafts Deform
- Welding. A longitudinal seam weld shrinks and bows the tube toward the weld; girth welds at flanges tilt or bow the axis near the joint. This is the dominant distortion source on welded hollow shafts and often the reason a straightening station exists in the line at all.
- Heat treatment. Stress relief, hardening or nitriding releases machining and welding stresses unevenly around the section, so the timing rules for correcting hardened parts apply before anything is pressed.
- Machining. Boring the ID or turning the OD removes stress asymmetrically, worst on seam-welded tube where the weld side differs from the opposite side, and the shaft bows after it leaves the machine.
- Clamping and handling. A chuck gripping a thin wall ovalizes it; a sling point on an unsupported span can leave a permanent set. A fair share of “mystery bend” in hollow shafts is a handling artifact that correct tooling eliminates.
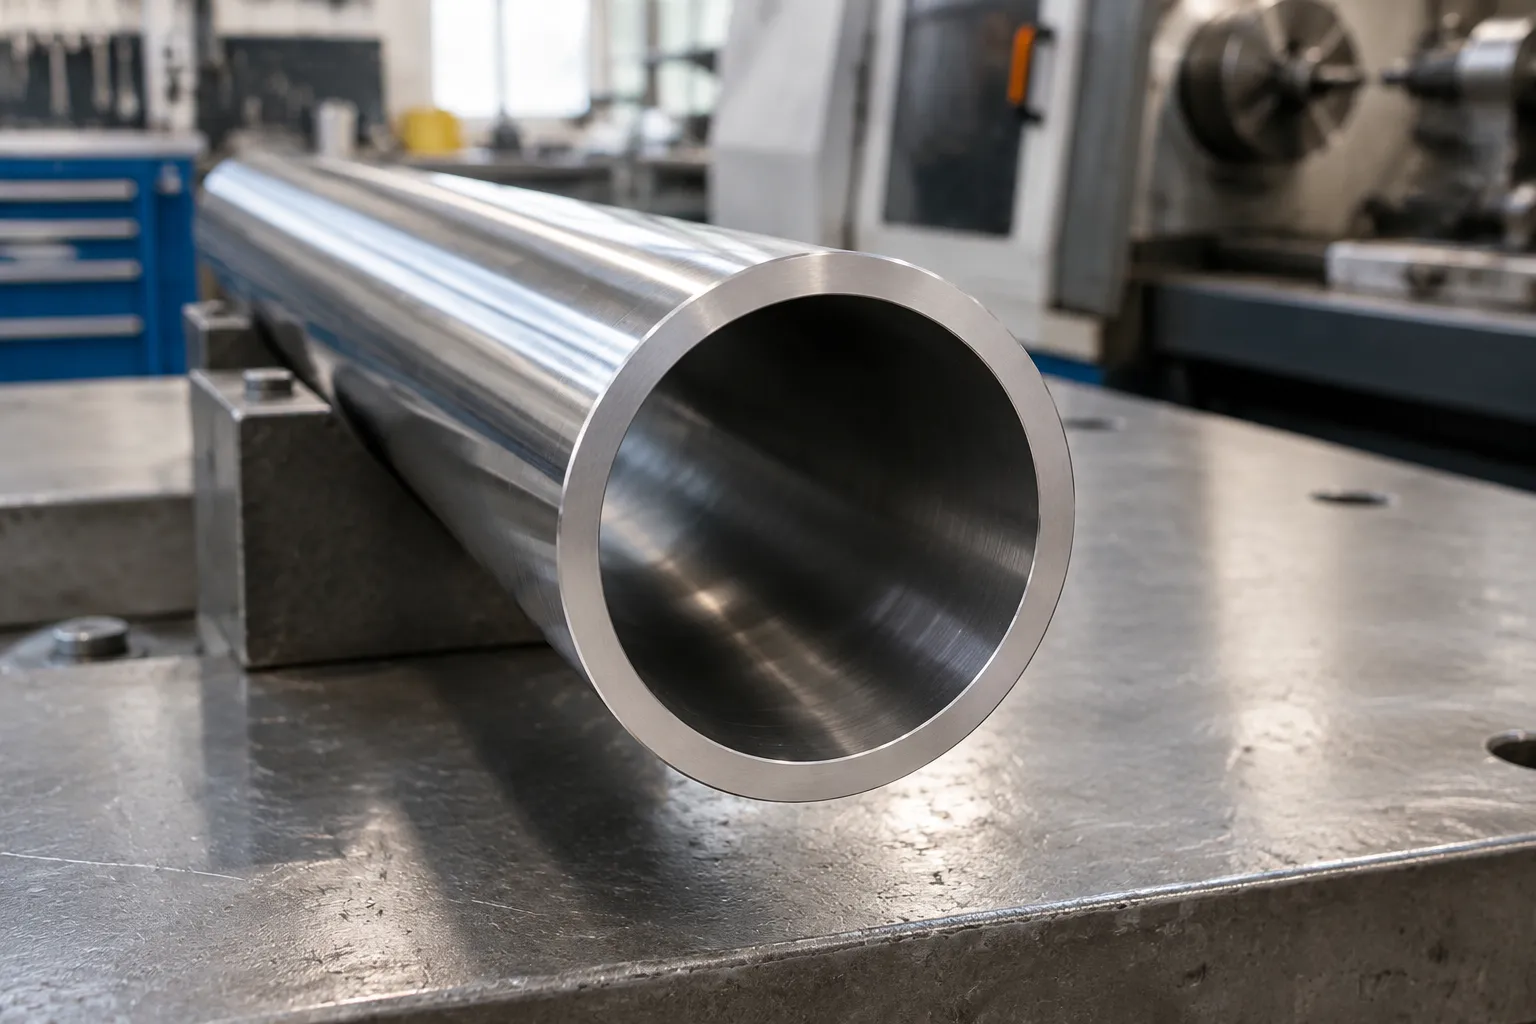
Hollow Shaft Families and Their Correction Windows
“Hollow shaft” spans a spread of geometries, and the correction window, how much correction is possible before wall damage or instability, narrows sharply as the wall thins relative to the diameter:
| Family | Typical D/t | Correction character |
|---|---|---|
| Heavy-wall hollow shaft | D/t below ~10 | Behaves nearly like solid bar; conventional point pressing with standard protections |
| Medium-wall transmission shaft | D/t ~10-25 | Spread-load tooling mandatory; ovality coupling managed explicitly |
| Thin-wall precision shaft | D/t above ~25 | Local dimpling dominates; bend-and-round sequencing, very small strokes, non-contact measurement |
| Raw thin-wall tubing | any | Different problem entirely, covered by tube and pipe straightening equipment |
Freeze the Stage: Welded, Heat-Treated or Finish-Machined
- After welding, before stress relief: correction is possible but usually premature, because a subsequent stress relief will move the geometry again. Measure, relieve, then correct.
- After stress relief or heat treatment: geometry is stable and the residual-stress state is known; the preferred correction point for welded hollow shafts.
- After final machining and grinding: correction shrinks to small, documented strokes with spread tooling; flange faces, journals and splines may not be loaded, which pins supports and ram to designated zones.
- In repair: an unknown history of overload, impact or prior straightening demands inspection gates first. A hollow shaft that has seen buckling instability must be evaluated for wall damage before any press touches it.
Each stage transition also moves the measurement datum. Before machining, the bore or weld-run geometry may be the only reference; after machining, functional journals and flange faces take over, and correction targets must be re-referenced to the new datum chain, the same re-referencing that machine tool spindle shaft straightening demands when finished interfaces appear.
Measurement: Separate the Two Geometries
The central measurement skill on hollow shafts is refusing to let ovality masquerade as bend:
- Rotate and map at several stations. With the shaft on roller, not sharp V, supports at fixed stations, record runout at multiple axial planes. The working distinction: twice-per-revolution components are ovality, the migrating once-per-revolution component is the bend.
- Watch support-induced ovality. A hard support locally ovalizes a thin wall and shifts the axis reading by itself. Roller supports, wide pads and support-span discipline keep the measurement honest; the loaded-versus-released framework applies with extra force here.
- Use non-contact sensing where tolerance is tight. Laser or air-gauge stations measure without deforming the wall; multi-station electronic mapping captures the full picture.
- Fix the datum chain. Machined journal or pilot features define the functional axis; datum-selection logic dictates which surfaces may serve as supports and which must only be measured.
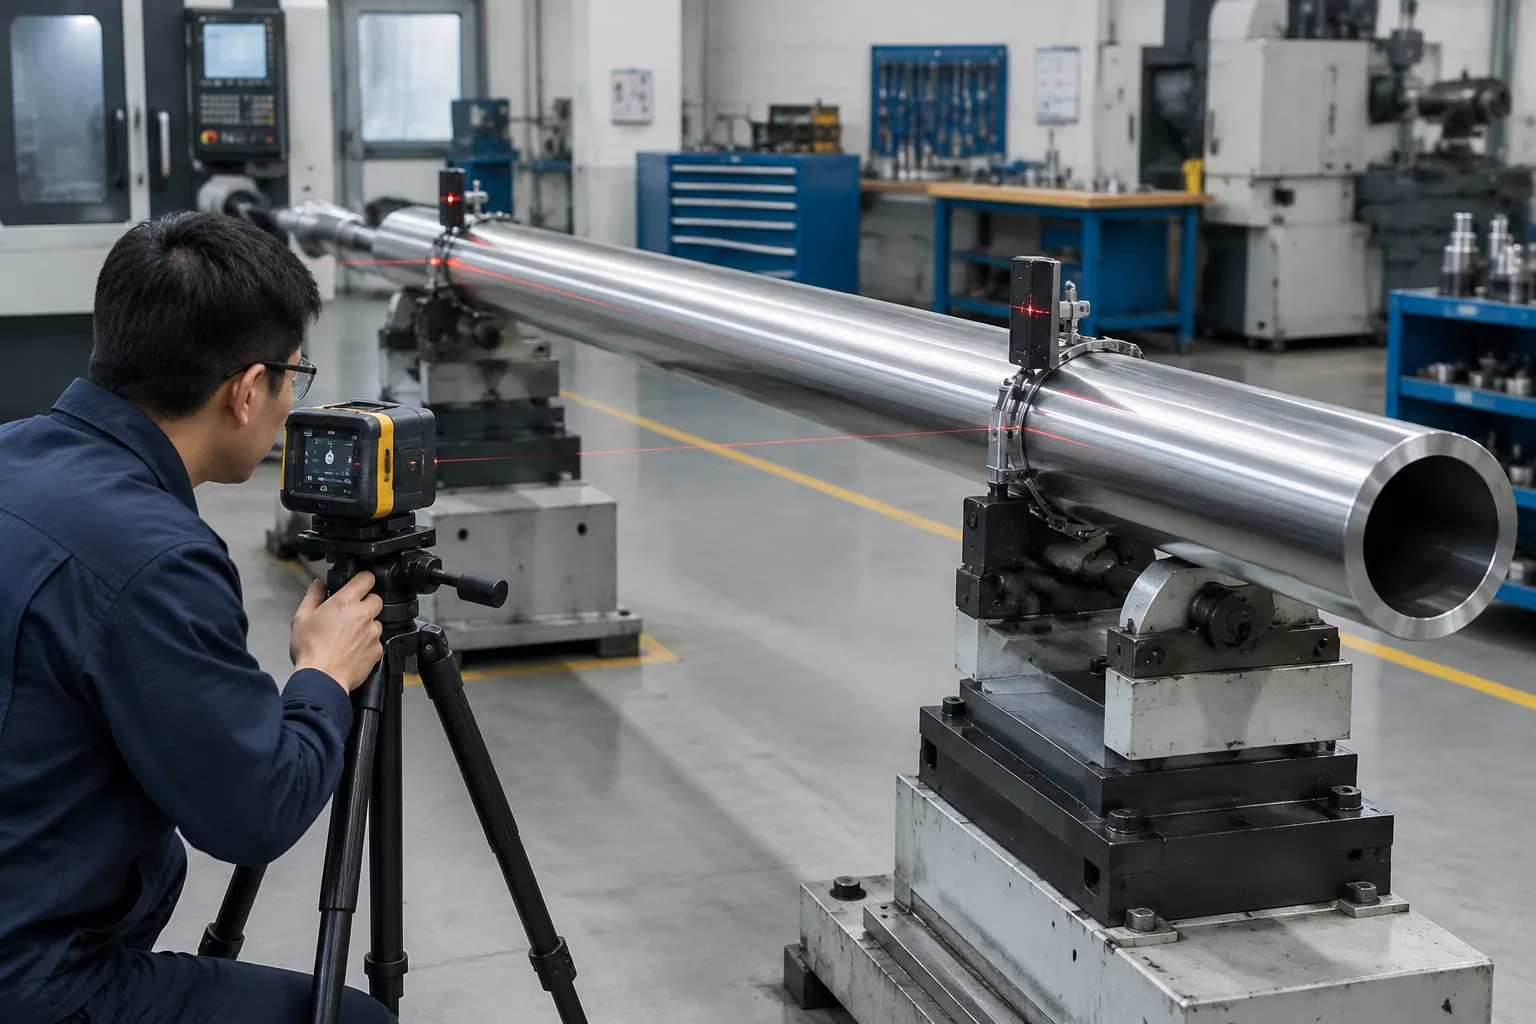
Correction Routes for Hollow Sections
External point pressing with spread loads
The baseline route is precision point-press straightening, adapted: wide-radius anvils and a radiused or padded ram spread the load over enough arc length that the wall bends as a section instead of dimpling locally. Supports sit per the bend map, clear of weld seams where possible. Stroke is displacement-controlled and small; on thin walls, visible wall deformation is a process failure, not a side effect. One caveat against roll-based routes: rotary roll straightening is rarely acceptable on finished machined hollow shafts, because roll contact marks machined surfaces and thin walls ovalize under roll load. That equipment belongs to bar and tube stock.
Bend-and-round sequences
When ovality and bend coexist, the plan sequences them deliberately: round the section first, local forming to restore wall curvature, then correct the centreline, then re-map, because each step perturbs the other. Attempting both at once in one setup is how a hollow shaft ends up wearing a helix of small dents along its length.
Internal pressure methods
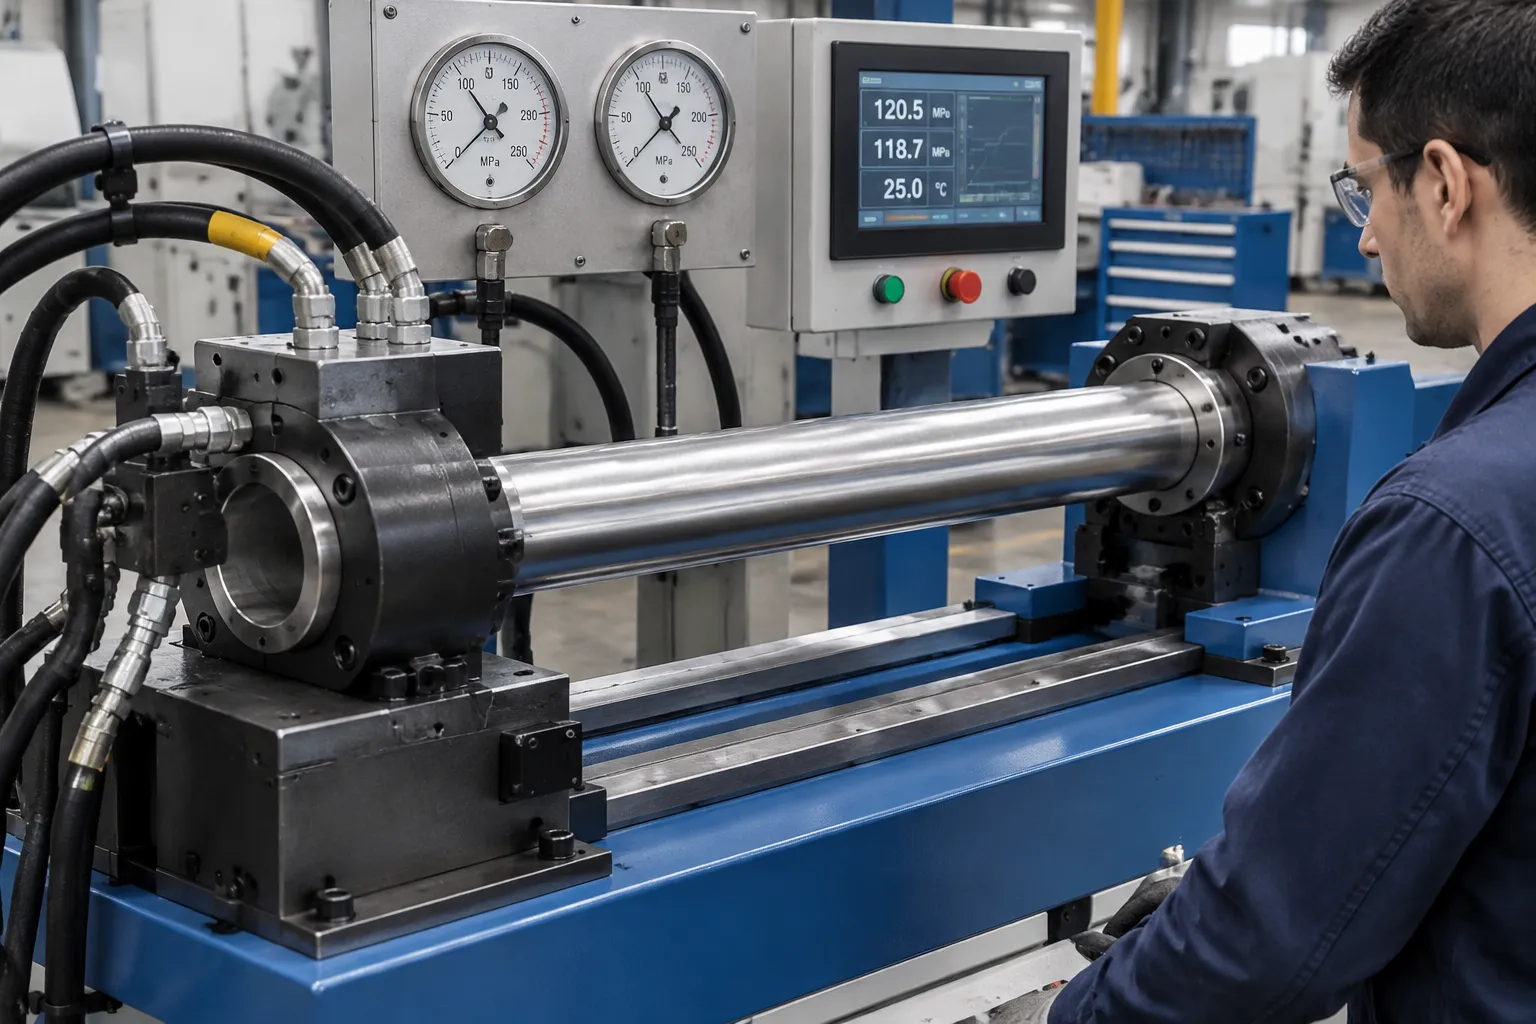
For suitable geometries, open bores, sound welds, ends closed by tooling, internal hydraulic pressure can size and stress-relieve the section, sometimes reducing bow as a by-product of uniform plastic expansion. This is a specialized route that depends entirely on the part’s pressure capability and weld qualification; it joins the conversation only where the drawing and weld documentation support it.
Acceptance Criteria
- Centreline straightness or TIR at the drawing-specified supports and stations, in the same measurement condition as the incoming map.
- Ovality at defined stations re-measured after correction; the correction must not buy straightness with roundness.
- Wall integrity: no visible dents, flats or witness marks; wall-thickness spot checks wherever forming was applied.
- Weld-zone condition: no cracking indication where correction loads crossed or approached seams, inspected per the weld class.
- Stability: a defined settling or stress-relief policy so the corrected geometry survives subsequent machining and assembly; the Bauschinger effect and residual-stress redistribution stay live issues on thin sections.
- Gauge capability covering both the runout and the ovality measurements, not just one of them.
Check Wall Stability Before Loading Anything
Before any correction load touches a hollow shaft, the section itself has to prove it can take the load. Verify actual wall thickness around the section, measured or checked against the mill certificate, because a wall thinner than nominal shifts the whole correction window, and on welded tube the wall at the weld and opposite the weld can differ. Confirm the section has not already buckled: a local yield line or ripple on the compression side of a previous bend, often visible under raking light, means the section is finished as a load-carrying structure and correction is off the table. Identify internal features, weld penetrations, bore steps, cross-drillings, because a load applied over an internal discontinuity behaves nothing like a load over solid wall. And derive the support span from the section, not the shaft length: on thin-wall parts, unsupported spans that would be trivial on solid bar let the section ovalize under its own weight plus measuring force. These checks take minutes; skipping them is how a correctable hollow shaft becomes scrap on the press.
Common Failure Modes
- Dimpled walls. Point tooling on a thin wall leaves a flat that shows up as local runout at final inspection and as a stress riser in service. Spread the loads first, correct second.
- Ovality chased as bend. Twice-per-revolution error pressed as though it were a bow: the map moves, the part worsens, and nobody can say why.
- Support-induced false readings. Hard V-blocks ovalize the wall enough to fake a bend on a part that was straight; the “corrected” bend then appears somewhere else.
- Roll-straightening a finished shaft. Rotary rolls mark machined surfaces and ovalize thin sections; the route belongs to bar and tube stock, not finished hollow shafts.
- Unqualified rework across welds. Pressing across a seam without weld documentation risks a crack that no runout check will ever find.
For a hollow shaft feasibility study, prepare the shaft drawing with wall thickness and runout specification, the weld map and qualification records, and incoming runout-plus-ovality maps from representative parts. The same closed-loop machine architecture described in the shaft-type parts straightening overview applies, with the contact map rewritten for thin walls.